This year for Thanksgiving, I hosted some friends at my place for an Orphan Thanksgiving. Anyone is invited who is around and doesn't have family around for Thanksgiving and everyone who comes contributes something to the meal.
At first I was worried because most of my friends had plans or things to do. And for awhile, I thought it was going to be just me and my friend Dawn. The response to my orhpan thanksgiving email was mixed - with one person actually thinking I was having real orphans over to my place for dinner. Oops.
As the day grew closer, more and more friends were excited to come and it ended up being 6 of us... which is really the perfect number.
I don't have the pics yet from the dinner... but I do have some pics of the things that I made and wanted to share some recipes and variations that I did.
Roasted Garlic Rosemary Mashed Potatoes

I followed
this recipe with just a few changes. I used a little extra butter (probably 1-2 extra

Tablespoons)... and I also stirred in Garlic Salt into the potatoes. I used a ricer (which is the BEST way to make mashed potatoes quickily and easily - it's amazing). Also, used whole milk... probably about 1/2 a cup. My other addition was Rosemary. I cut some up fresh rosemary and stirred it in at the very end. I used more fresh rosemary to garnish and sprinkled Garlic Salt and Pepper over the top. I made these early and put them into the oven to warm them up just before serving. My apartment smelled amazing from the roasted garlic (pictured at left).
If you are planning on putting them into the oven for a long time to warm, be sure to add a little more milk, as this helps to prevent them from getting too dry.
Apple Crisp

Apple Crisp is one of my absolute favorite things to make. It's very simple and quick and seems to encompass all things Autumn. There are tons of recipes out there... and I've basically combined several... but also have made it so many times that I don't really follow a recipe. So I'll just write down what I do.
You Need:
2 Large Apples - I normally use Gala or Granny Smith, but those varieties were looking very picked over at the market. So for yesterday's crisp- pictured above, I used 2 HoneyCrisp Apples.
Lots of Cinnamon Sugar. I go through a lot making this recipe, I would get a new bottle of it - or make your own by mixing Ground Cinnamon with Sugar.
3/4 Cup Brown Sugar
3/4 Stick of Butter (I use unsalted sweetened butter)
1/2 Cup Flour
1/2 Cup Oatmeal (uncooked)
1/2 Teaspoon Vanilla Extract (I actually don't measure this or the spices, so it's an estimation - feel free to use more or less!)
3/4 Teaspoon Ground Cinnamon
1/2 Teaspoon Ground Nutmeg
1/8 Teaspoon Cloves (optional)
What to Do:
Pre-Heat Oven to 375.
Grease a square or round baking pan.
Pour cinnamon sugar onto a plate in a thin layer.
Peel and Slice apples. I use an Apple Corer which cuts the apples into 4 slices, then I cut those slices in half.
Roll apples in the cinnamon sugar, lightly coating them.
Place apples into the baking pan. Feel free to layer them evenly. I usually end up with about 2 layers of apples.
In a bowl, mix together the Brown Sugar, Flour, Oats, Spices. Cut in the butter and mix it all together. Pour the mixture over the apples in the pan.
Bake in the oven for about 30 mins... or until the apples are nice and tender (ie, you can easily slide a knife into the apples).
Voila! Yummtastic! I recommend serving warm with a scoop of Vanilla Ice Cream on top. The vanilla ice cream really brings out and balances the spices.
I made two of these yesterday... one for the dinner and one for a friend who doesn't love baking. Apple Crisps are very quick to make and always are a big hit.
Apple Butter Pumpkin Pie

The above picture is the only one I got of the pumpkin pie that I made... kind of an afterthought!
I love pumpkin pie... and love making it. It's very easy and the smell is always just amazing. I'm a big fan of making pumpkin pie from a real pumpkin... but, this year I didn't have the time. Actually, I wasn't even going to make pumpkin pie this year... but then I saw this Paula Deen Special on the Food Network on Sunday... and her pie recipe inspired me to give it a shot. She used APPLE BUTTER in her pie. I love love love apple butter... so I knew I had to try it.
I made about 30 mini pumpkin pies from the recipe for work on Wednesday. Actually, I did 1/2 of the pies from the Paula Deen recipe and 1/2 from my old recipe. Both went quickly. I made a few changes, though, from that trial run to the pumpkin pie that I made yesterday.
This is the Paula Deen Recipe....
and here's my input :o)
I added a little more brown sugar... and I also added 1/8 teaspoon of Cloves. I love Cloves in pumpkin pie. I used organic canned pumpkin. Also, for my trial run, the apple butter I used was not that great. It was very thin and light - almost like an apple jam. The spices in it were very light. I really recommend using as "authentic" an apple butter as you can, ie as close to homemade as possible. It should be dark in color and very thick. You should be able to smell the AllSpice! The second time, I used Apple Butter that was more authentic. It cost me more, but it was the right consitency and made a HUGE difference.
Anyway - other than that, I followed Paula's recipe... and it was a big hit ;o)
Thanks and hope everyone had a great holiday! I'll Post Part II when I get the pics from my guests!


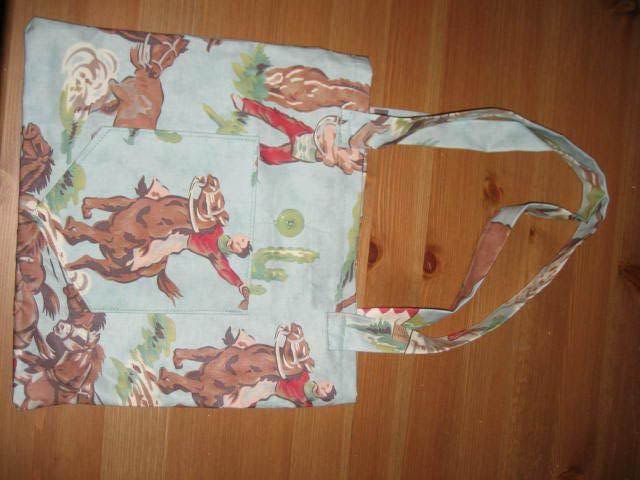
 Secret Gift #1:
 Secret Gift #2:
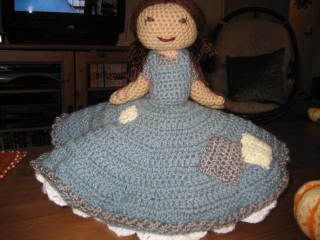
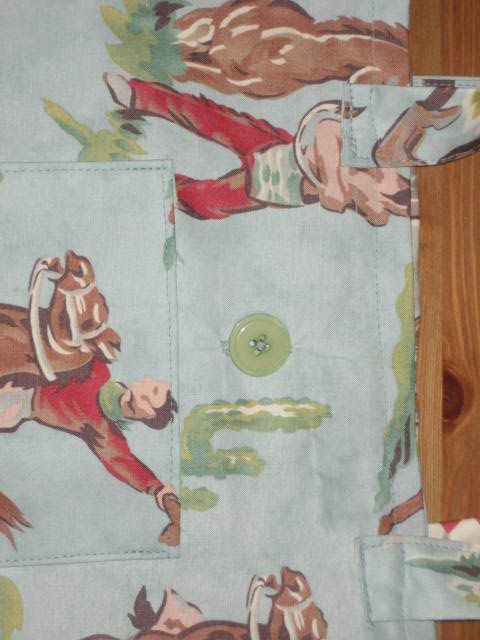
 Isn't it fun?
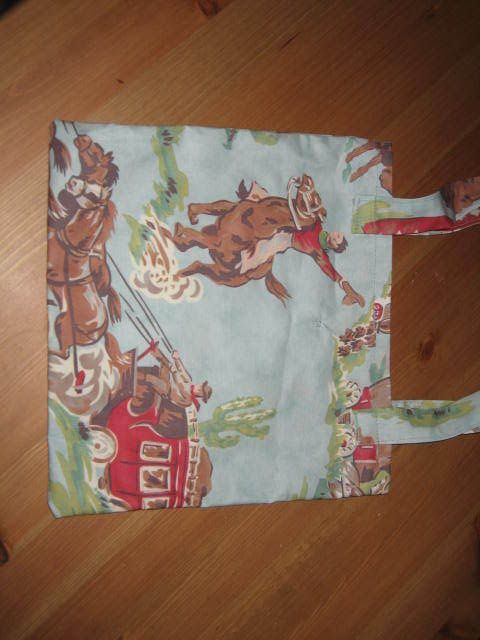
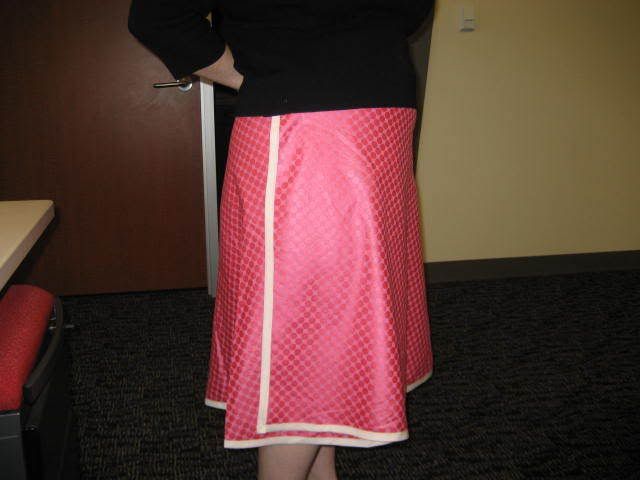 I totally want to make a ton of them. I think it'll be great practice at sewing straighter lines... and not only that, but the skirt is super cute and one size fits most!
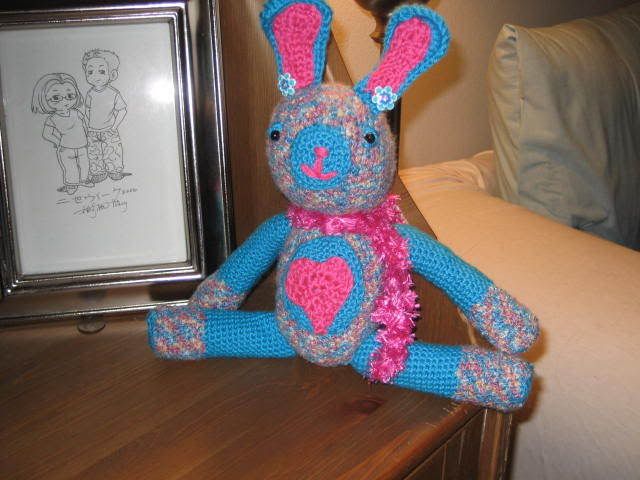
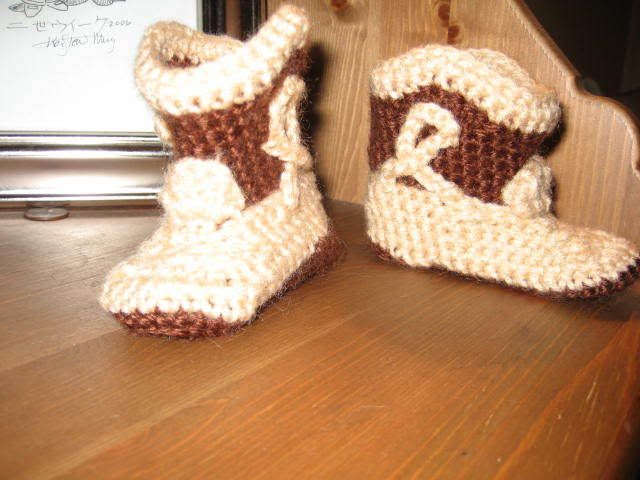
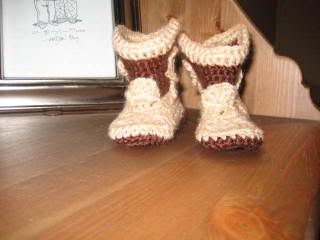 They are soo tiny and cute. I want to make a ton of pairs in every color. These were done in Caron Simply Soft Chocolate and Red Heart Buff yarn. I actually


 Of course, my dad is uber allergic to my fluffy kittens, so I washed it very well before I sent it :)


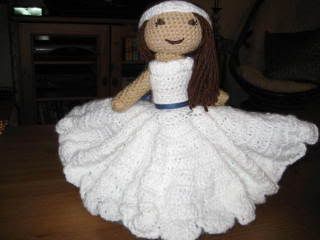
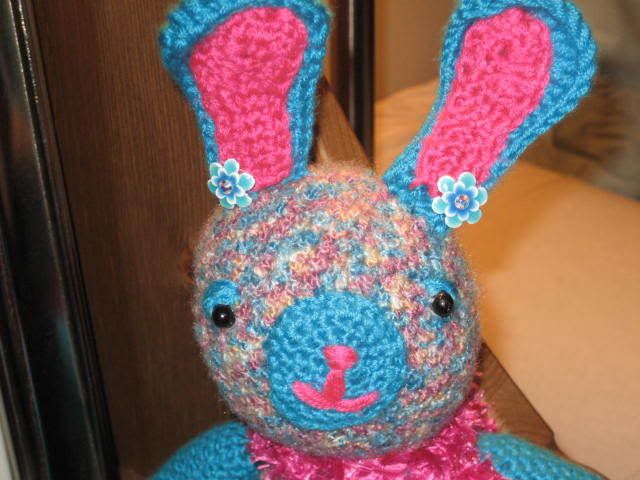
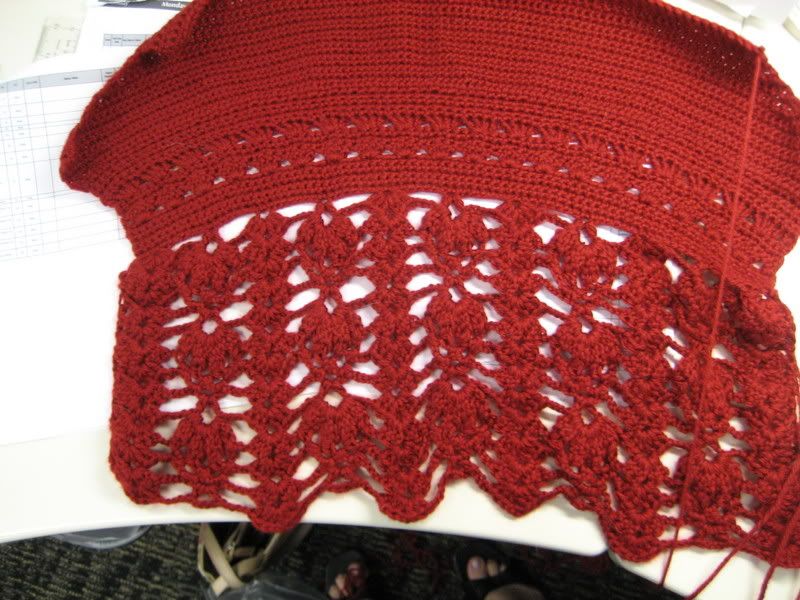
 This picture shows the actual color: